Overview
This article provides the procedure to configure the user's timezone and date/time format preferences which determine the local time shown in fax delivery notification Emails.
Information
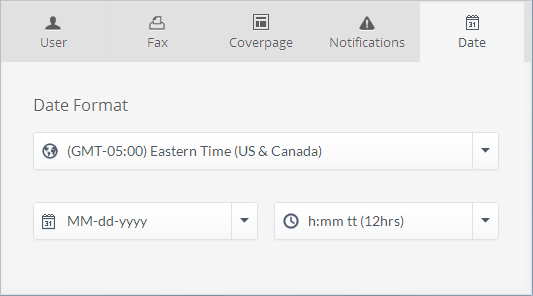
The Date configuration screen enables the configuration of the date and time settings according to regional location and user preferences.
Follow these steps to configure the above options:
- Log in to the FaxMaker Online Administrator Portal and navigate to Settings
 > Users
- From the Users screen, click
 next to the user to edit, and click Edit User.
 - Click on the Date tab and configure the following options:
Option Description Time zone Select the location time zone. Date format Select the preferred date format.
- M - the numerical value of a month.
- MM - the numerical value of a month displayed in double digits. For example, January is displayed as 01.
- d - the day number.
- dd - the day number displayed in double digits. For example, 3rd January is displayed as 03.
- yy - the year in two digits. For example, 2013 is displayed as 13.
- yyyy - the year displayed in four digits.
Time format Select the preferred time format.
- h - the hour value in 12-hour clock format.
- hh - the hour value displayed in double digits, using the 12-hour clock format.
- tt - indicates morning - am or afternoon - pm.
- H - the hour value in 24-hour clock format.
- HH - the hour value displayed in double digits, using the 24-hour clock format.
- mm - the minutes value.
- Click Save to apply all changes.
Priyanka Bhotika
Comments